Why Your Podcast Sound Truly Matters

A podcast will only fly when the sound is spot on, because even the best ideas lose their charm if the audio feels off. When you deliver professional-quality sound, your listeners feel at ease, and your message clicks right away. Clear audio boosts your credibility and makes it more likely that your audience will stick around, subscribe, and spread the word about your show.
Your sound quality is not just technical stuff – it can be the difference between hooking a new fan or losing them instantly.
Bad sound acts like a barrier between your ideas and your audience. Think about the last time you stopped listening because of distracting background noise, uneven volume, or voices that sounded muffled. These issues force listeners to work too hard to grasp your message and spoil even the most interesting topics. In contrast, crystal clear sound lets your personality show and makes your message shine.
How Sound Affects Your Listener's Mind
Our brains work best when sound is clear and easy to understand. When listeners struggle with crackling or murky audio, they use extra energy to sort out what you're saying, which makes it harder for them to connect with your ideas. Smooth, crisp audio creates an easy listening flow that helps your message sink in naturally. When your sound is effortless to process, people feel that your content is honest and valuable. In essence, clear audio draws your listeners in and builds a closer connection between you and your audience.
Smooth, clear audio draws listeners in and builds a real connection between you and your audience.
The Role of Sound in Growing Your Podcast Audience
Your podcast’s growth does not depend only on what you say, but also on how you sound. Poor audio can kill word-of-mouth recommendations and lower your ranking on platforms that suggest shows to new listeners. Even the best marketing cannot fix a recording that sounds off. When you invest in great sound clarity, you create a strong base for growth, ensuring that new listeners stick with your show. The best part is that you can lift your audio quality without a high-end studio when you learn to fix common issues with what you already own. Get ready to dive into real tips that can transform your sound and help your podcast flourish.
The Essentials: What Makes Sound Great?
Before you explore advanced tricks, it helps to nail the basics of sound. Understanding what makes your audio clear and warm is key to keeping your listeners engaged. It’s not always about pricey equipment – it’s about knowing which sound details matter and how to fine-tune them. Let’s break down the core elements that make your podcast audio pop.
Clear Sound: The Heart of Good Audio
Clear sound means that every word you say comes through without strain. When listeners easily understand your voice, they stick with your content until the end. Podcasts delivered with remarkably clear audio tend to keep their audiences longer than those with murky sound.
Podcasts with clear sound see much better listener retention than those with murky audio.
Getting that clarity starts with the right microphone position. Keep your mic about 4 to 6 inches away from your mouth and slightly off to the side to cut down on popping sounds from letters like "p" and "b." A pop filter can help even more, ensuring your voice shines through naturally.
A quiet, treated space also boosts clarity. You don’t need a fancy studio – simple fixes like adding blankets, cushions, or acoustic panels to absorb echoes can make a big difference. Even modest room adjustments have the power to take your audio from average to professional without a huge investment.
Getting Your Levels Just Right
Loud and soft twists in volume can really throw off your listeners. It can be very frustrating if one moment sounds like a whisper and the next a shout. Keeping a steady, balanced volume makes your show comfortable to listen to and keeps your audience engaged.
A good rule is to aim for recording levels between -18dB and -12dB. This range helps avoid distortion when you get louder and keeps the softer parts audible. Most recording programs, whether Audacity, Adobe Audition, or GarageBand, display a green zone on their meters as a guide to these safe levels.
Staying consistent in your volume is as important as getting it right in the first place. Many podcasters use compression during editing to smooth out any big changes between segments. This approach makes the overall listening experience more even and natural, all while keeping your conversation’s energy intact.
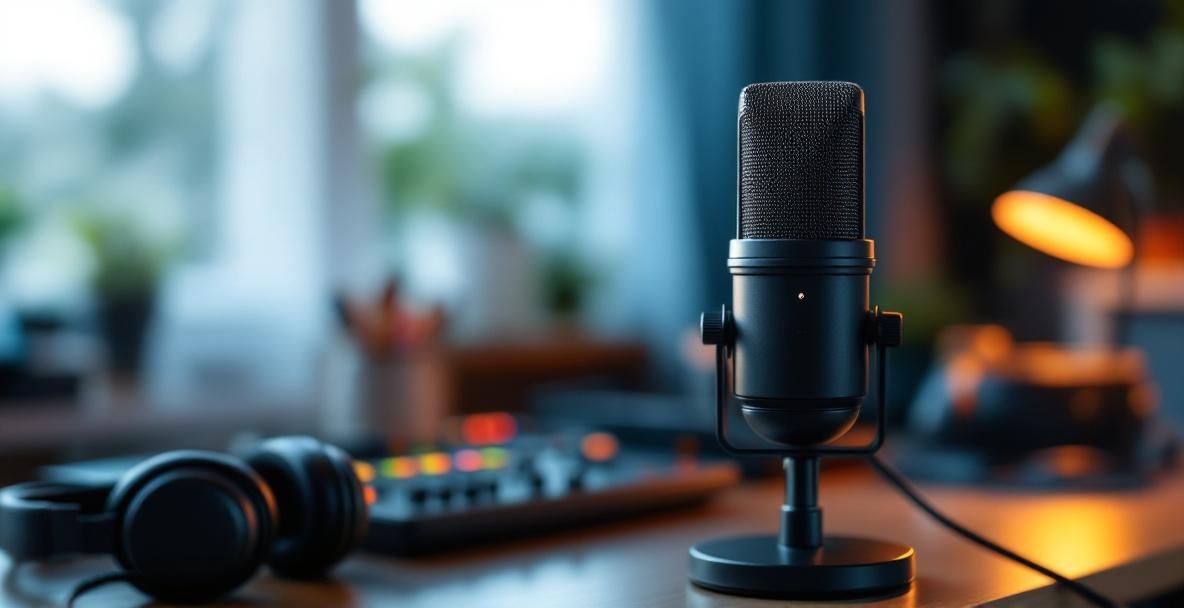
Gear and Setup: Your Recipe for Great Sound
When it comes to capturing great podcast sound, having the right gear makes all the difference. It isn’t about owning the most expensive equipment, but about making smart choices that enhance your recording. Even if your content is amazing, a solid technical setup forms the backbone of your podcast’s sound. Let’s explore what gear can help you reach that next level without emptying your wallet.
Picking the Perfect Microphone
Your microphone is one of the most critical pieces in shaping your sound. If you're just starting out, USB microphones like Blue Yeti or Audio-Technica ATR2100x-USB offer an easy plug-in solution that delivers clean recordings without extra equipment.
| Feature | USB Mics | XLR Mics | Cloud Recording Platforms |
|---|---|---|---|
| Easy Setup | Yes – Just plug in | Requires an external interface | Works directly through your browser |
| Sound Quality | Good | Top-notch | Varies with your own gear |
| Best For | Solo hosts and newbies | Studios and advanced users | Interview shows with remote guests |
| Cost Range | $70-$150 | $100-$400+ (mic plus interface) | $15-$35 per month |
| Popular Models | Blue Yeti, ATR2100x | Shure SM7B, Rode PodMic | Riverside.fm, SquadCast |
If you're ready to up your game, consider XLR microphones paired with an interface for greater control and richer sound. The Shure SM7B is a favorite thanks to its warm tone and excellent rejection of background noise. For those on a budget, the Rode PodMic or Shure MV7 provide professional-grade sound without a high price tag. Also, think about your space when choosing: dynamic mics work well in untreated rooms, while condenser mics capture more detail along with extra background sounds.
Choosing the Right Recording Software
Your recording software can boost your show by making both capturing and editing smoother. Free options like Audacity deliver many features, from multi-track recording to noise reduction, while Mac users might enjoy the pre-installed GarageBand for its simple yet powerful tools. The right software helps you shape your raw recordings into a clean, polished product that sounds great on any device.
| Option | Free Options | One-Time Purchase | Subscription-Based |
|---|---|---|---|
| Popular Tools | Audacity, GarageBand | Hindenburg Journalist | Adobe Audition, Descript |
| Ease of Use | Easy to begin | Moderate learning curve | Requires more advanced work |
| Key Benefit | Lots of plugins and cost-free | Automatic voice leveling | Advanced features like AI transcription |
| Ideal For | Budget creators | Storytellers and journalists | Teams working together on projects |
For more advanced needs, software like Adobe Audition and Hindenburg Journalist offers extensive tools for cleaning and polishing audio. Adobe Audition shines at reducing background noise, and Hindenburg Journalist can automatically balance your levels, saving time in the editing room. Many of these tools offer a free trial so you can see which one feels best for your workflow.
When it comes to interviews, consider cloud-based platforms such as Riverside.fm, SquadCast, or Zencastr. They record each participant locally before sending you high-quality files, which means fewer glitches and smoother conversations. Choose what fits your level of comfort and your podcast’s needs.
Creating a Sound-Friendly Space
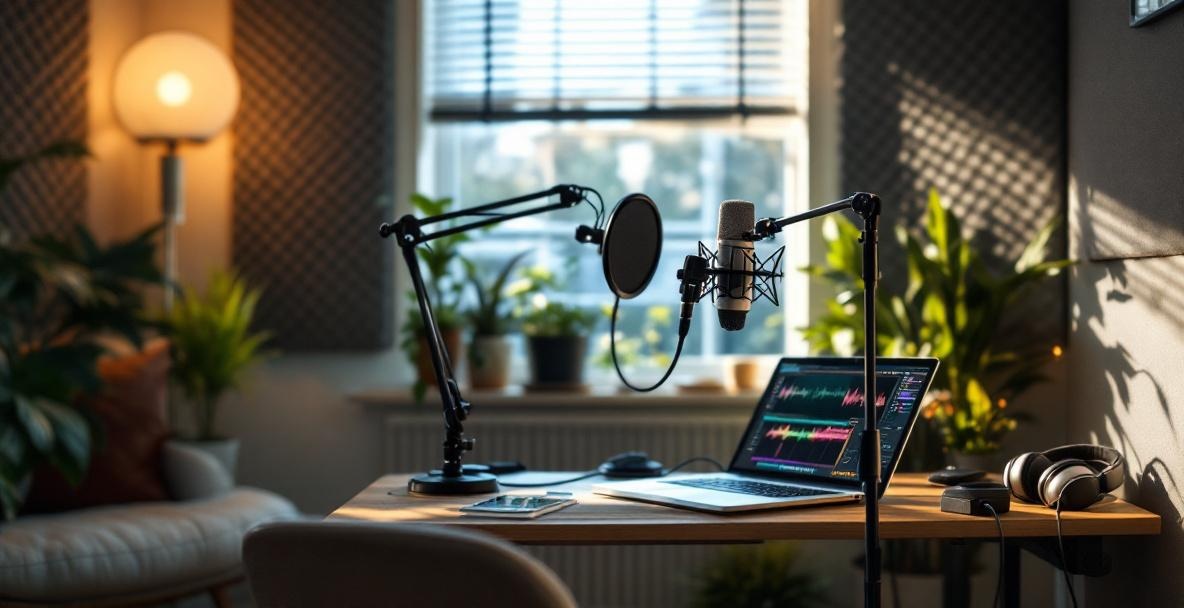
Even with great gear, a noisy or awkward space can ruin your audio. Many podcasters have turned average recordings into polished episodes simply by making a few changes in their environment. You don’t need a professional studio to get better sound – a few smart adjustments in your space can make a huge difference in how your podcast comes across.
Tuning Your Room Acoustics
How your room sounds matters a lot. Hard surfaces like bare walls, windows, or wooden floors can bounce sound around and create echoes that make your recording sound hollow. The silver lining is that you can improve your room acoustics without spending a lot.
Using soft materials like heavy curtains, rugs, or filled bookshelves can radically improve your room's sound.
Try clapping in different corners of your space and listen for where the echo is strongest. The spots that bounce sound back the most need softening. Hang heavy curtains on windows or lay down a thick rug on a hard floor, and even add a bookshelf full of books to break up flat surfaces. These simple fixes help absorb extra sound and give your recording a much clearer tone.
You can also create your own acoustic panels with items you have, like towels or moving blankets. Place these on the walls next to or behind your mic to catch stray sound waves. Some podcasters even convert a closet into a mini booth by hanging clothes around, proving that you can achieve studio-quality sound without a costly setup.
Cutting Out the Background Noise
Nuisance sounds like the hum of an air conditioner, distant traffic, or a buzzing phone can pull listeners out of your story. Start by identifying where most of the noise comes from, and address those areas first. Reducing ambient sounds is key to keeping your audio clean.
| Noise Source | Immediate Fix | Long-Term Fix |
|---|---|---|
| Computer Fan | Move your mic away or use a simple isolation shield | Upgrade to a quieter PC or invest in an external recorder |
| HVAC Rumble | Turn it off during recording | Consider installing a quieter system or adjust EQ settings |
| Street Traffic | Record at quieter times | Add window inserts or hang heavy drapes |
| Room Echo | Hang blankets on walls | Install proper acoustic panels and bass traps |
Begin by shutting off obvious noise-makers. Turn off fans, air conditioners, and heaters if you can while you record. Position yourself away from windows and try to record when external noise is low. A "Recording in Progress" sign on your door can also help avoid interruptions. Don’t forget to silence your phone and other devices so they do not distract you or your listeners.
If some background hum still lingers, try creating a barrier between the noise and your microphone. This might mean moving your mic further from a noisy computer or hanging a heavy blanket over a troublesome window. Many podcasters in our Castee community have found portable fixes, like the Kaotica Eyeball or DIY foam shields, that help keep unwanted sounds at bay. As recommended by the National Telecommunications and Information Administration, the goal is not absolute silence but a steady sound environment that makes post-editing much easier.
The Power of Editing: Perfecting Your Podcast
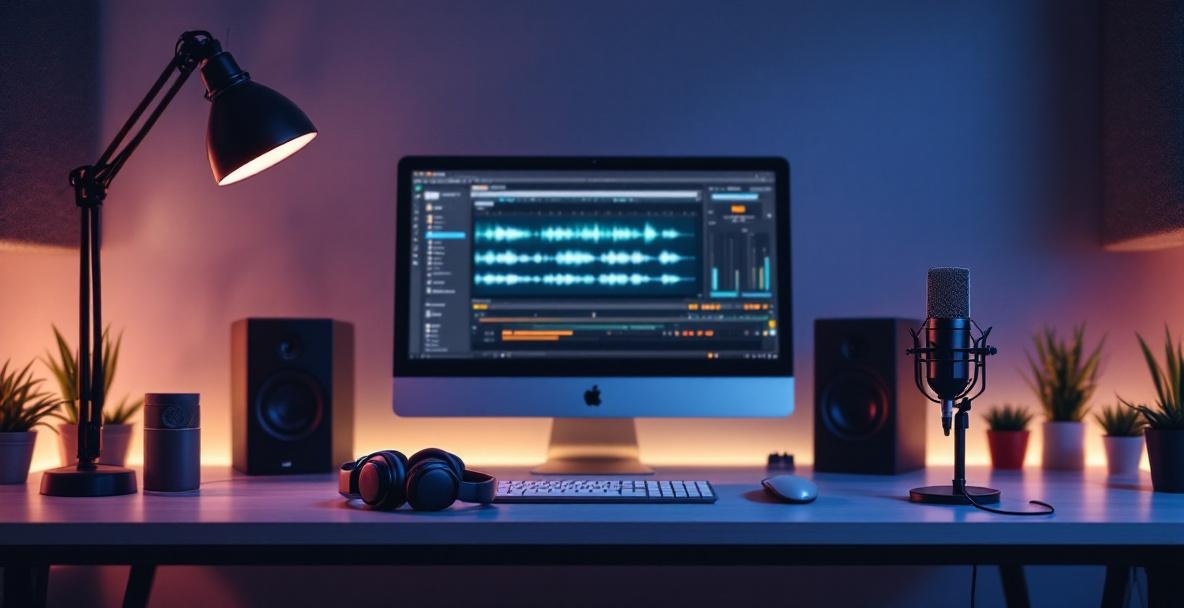
Even if you record in a perfect space with top-notch gear, the raw take rarely sounds as polished as you imagined. Editing is where the magic happens, turning a good session into a great podcast. It’s your chance to remove distractions, fix any hiccups, and give your content a professional finish while staying true to your voice.
Editing Tips to Bring Out the Best
During editing, your show can really shine. Start by cutting out long pauses, filler words like "um" or "uh," and any stray background sounds that crept in during recording. Tackling these issues step by step helps the flow of your story. First, address technical flaws, then ensure the conversation flows smoothly, and finally add any little touches that make your narrative more engaging.
Keeping sound levels steady is key to a polished podcast experience.
Make sure your volume stays even throughout the episode. Normalizing the audio means your listeners won't have to constantly adjust the volume on their end. Smooth transitions, like gentle crossfades between segments, help keep your audience immersed. Experts at the University of Minnesota suggest that fades lasting 15-25 milliseconds are usually just right to soften any abrupt cuts.
A few moments of silence can also work wonders. These brief pauses can highlight important points, build anticipation, or give your listeners a moment to absorb key ideas. Just be sure not to overdo it, so your conversation remains lively and natural. The goal is not to erase every flaw but to make your real voice and energy shine through.
Adding Effects: Subtle Touches for Better Sound
Using audio effects wisely can boost your recording without stealing the spotlight. Compression, for example, levels out the differences between louder and softer parts so that everything blends smoothly. A ratio of around 2:1 to 4:1 can help your voice stay natural while evening out the sound.
Equalization, or EQ, lets you adjust frequencies so that your voice sounds clearer. A small boost in the 3-5kHz range can enhance clarity, while a high-pass filter around 80-100Hz cuts out low-end rumble. If multiple speakers are involved, tailor the EQ for each to make sure everyone is heard at their best. Remember, a light touch is best; too many effects can make your sound feel overdone. As the KOSU Sound Advice guide for student podcasters reminds us, take breaks and get feedback to ensure your editing improves the overall experience without drawing attention to the processing itself.
Wrapping Up: Your Path to Better Sound
In this guide, we covered every angle on how to boost your podcast's sound. We looked at why quality matters and how to set up your recording and editing process for a show that draws listeners in and keeps them coming back.
We began by breaking down the basics of clear audio, discussing everything from balancing volume to creating smooth acoustics. Even if your audience does not call out great sound explicitly, they will notice when things are off, and that can drive them away.
Our discussion on gear showed that smart choices and proper use beat simply owning expensive equipment. Sometimes a well-chosen and well-handled mid-range microphone can outshine a top-tier one used the wrong way. Spending wisely on equipment and practice can truly make a difference.
Improving your recording space is simpler than it sounds. With clever adjustments like using acoustic panels, blankets, or even a bookshelf strategically, you can keep unwanted noise to a minimum and let your voice shine through beautifully.
Editing is where your recording truly comes alive. Techniques like noise reduction, compression, and EQ can transform your work from good to outstanding. Keep honing these skills over time, and watch your podcast grow stronger with every episode.
Improving your audio is an ongoing journey. As you try new techniques and refine your setup, your listeners will instantly notice the difference. The effort you put into perfecting your sound will help your podcast stand out in a crowded field.
Better sound means more engaged listeners, less drop-off, and ultimately a more successful podcast. The tips we shared come from real experience with podcasters at every level, and they are proven strategies that work.
Try out these ideas, see which ones click with your style, and keep refining your process. Consistency is key, and when your audience knows that every episode sounds just right, they will keep coming back.
Ready to take your podcast to the next level with professional-grade audio and strategic marketing? Visit Castee today to discover how our end-to-end podcast marketing solution can help you not only improve your sound but also boost your visibility, engage followers, and track your success – all from one integrated platform. Share your improved podcast experience with us, and don't hesitate to reach out with questions about implementing any of the techniques we've discussed!
Leave a Reply