Your podcast is only as strong as its sound. Even the best ideas can fall flat when poor audio distracts your listeners with background noise or uneven volume. When you invest in clear, crisp sound, you show that you value your audience's time and effort. Great audio not only builds trust but also keeps your audience coming back for more.
Why Great Audio Makes a Difference

Your podcast's sound is like its signature. Consider the shows you love; they all deliver clean audio that lets you enjoy every word. When your episodes come through clear and steady, listeners feel confident that you mean business. A strong sound makes it easier for your message to hit home, building your credibility just by the way you sound.
How Your Listeners Really Hear It
People tune in at all sorts of times-whether they are commuting, hitting the gym, or unwinding at home. Bad sound forces them to fiddle with the volume or replay parts to catch a missed word. Every little flaw in your audio takes away from the experience and makes it harder for your message to connect.
Each listener is in a different situation. Some might be using top-notch headphones in a quiet room, while others rely on car speakers amid constant noise. When you offer high-quality audio, your message stands strong no matter where they are listening.
Perks of Great Sound
Spending time on your podcast's sound goes beyond just looking good. Crisp, clear audio keeps people tuned in from start to finish, which means more loyal followers for your show. When distractions fade away, your audience can focus on the conversation, pushing your growth higher day after day.
When your podcast sounds sharp, it tells everyone that you care about every detail. That attention to sound makes your show memorable, and listeners start to see you as a real expert. Professional sound builds a reputation that sets you apart in the crowded podcast world.
Good audio creates a warm and personal vibe. When your voice comes through naturally and clearly, it feels like a heart-to-heart chat rather than a scripted ritual. That connection is what turns new listeners into lifelong fans.
Choosing The Gear That Works for You

Picking the right equipment is key to nailing your sound. You do not need to break the bank right away. Knowing the basics lets you make smart choices that grow with your podcast over time.
Microphones: The Heart of Your Sound
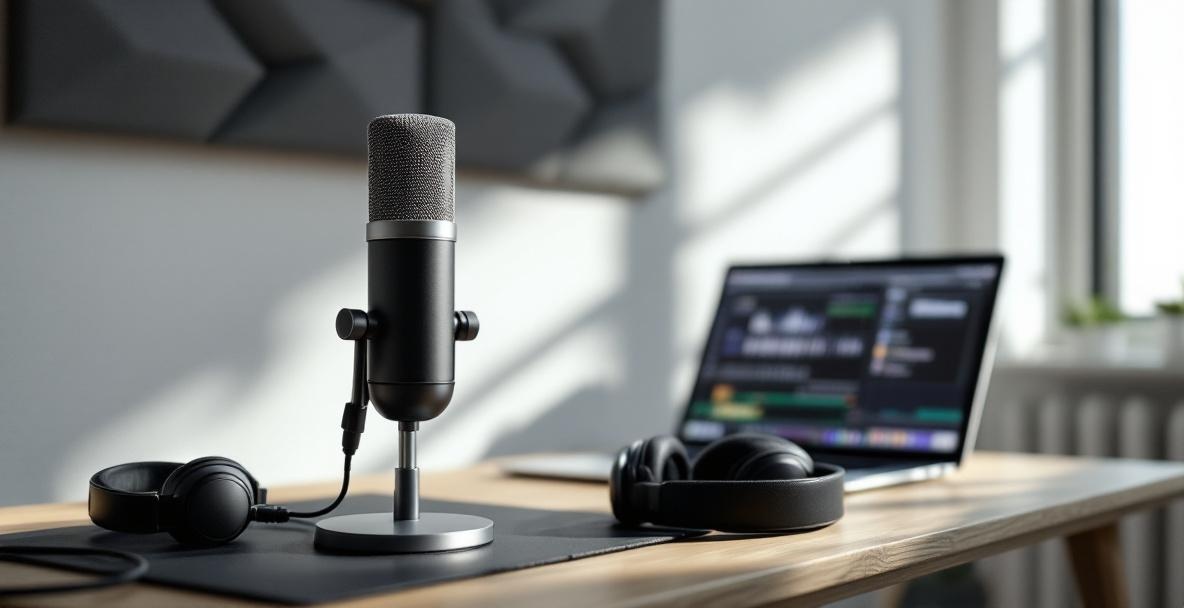
Your sound starts with the microphone, so choosing one that fits your needs makes a huge difference. Many new podcasters find that dynamic microphones like the Shure SM58 or Audio-Technica ATR2100x-USB do a great job. They cut out a lot of unwanted noise and handle imperfect rooms with ease.
There are also condenser microphones, such as the Blue Yeti or Rode NT-USB, which capture more details in your voice. Keep in mind that these mics can pick up extra background sounds, so they work best in a well-treated space. Before buying, think about your recording spot and what each type brings to the table.
Many podcasters start with USB mics because they plug straight into your computer and are very user-friendly. XLR mics need an interface but usually deliver superior sound and offer room to upgrade later. It all comes down to understanding features like frequency response and polar patterns more than just the price tag.
Headphones and Monitoring: Hear Every Detail
Good headphones play a big role in both recording and editing, even if they are sometimes overlooked. Closed-back headphones like the Sony MDR-7506 or Audio-Technica ATH-M50x let you catch every subtle nuance while keeping out extra noise. They also help prevent your mic from picking up sound from the headphones, so echoes stay out of your recording.
When you wear headphones, you pick up small flaws like slight mouth noises or unexpected background sounds that might not be obvious on speakers. This lets you adjust on the fly and keep your overall sound consistent.
For long editing sessions, comfort is key. Look for models with adjustable headbands and cushioned ear pads. Many podcasters even use two pairs-one designed for sharp, detailed listening and another that feels comfortable for hours on end.
Audio Interfaces and Mixers: Taking Control of Your Audio
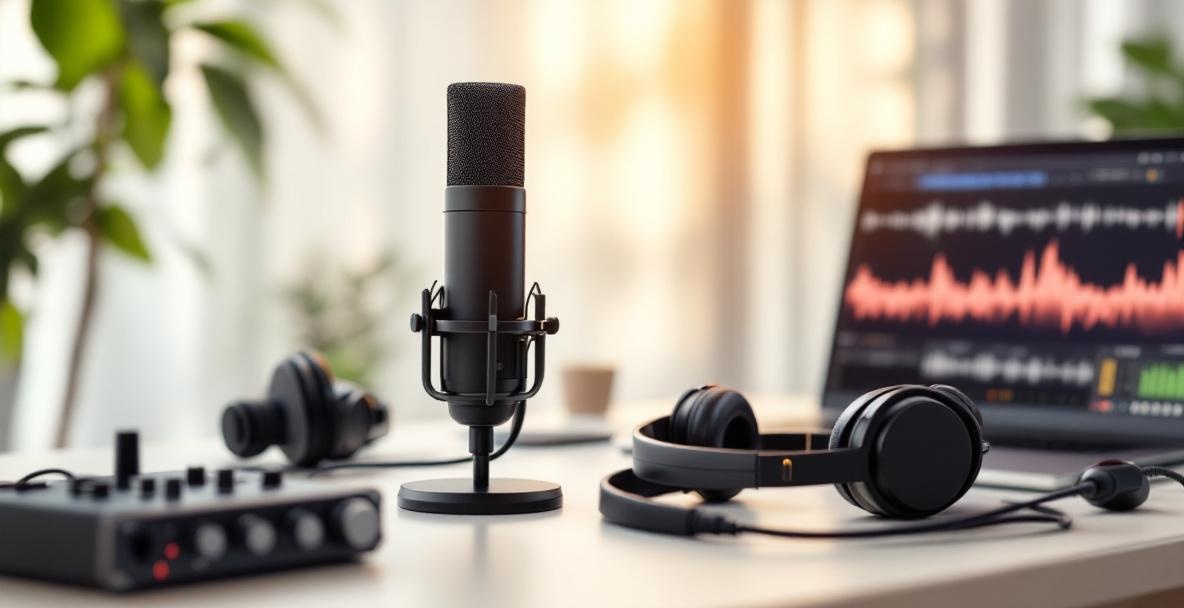
As you add more microphones or audio sources, the need for better control grows. Audio interfaces like the Focusrite Scarlett 2i2 convert analog sounds from your XLR mics into digital signals that your computer can work with, offering a cleaner result than your computer’s built-in sound.
Mixers give you real-time control over your audio, allowing you to adjust volume and even apply simple effects like compression or EQ. Devices such as the Rodecaster Pro and Zoom PodTrak P4 are built with podcasters in mind, offering features like sound pads and even the ability to handle phone calls.
For remote interviews, it helps to use services like Riverside.fm to record studio-quality audio directly on each participant's computer. This sidesteps many of the issues that come with traditional video calls.
Nailing Your Recording Technique
Even the best gear won't fix a bad recording if you don’t use it right. Learning how to capture clean audio from the start can save you countless hours during editing and make your final product shine.
Making Your Room Work for Better Sound
Where you record plays a major role in your sound quality. Hard walls and bare surfaces can cause echoes that spoil your audio. Start by choosing the quietest space you have-a room filled with carpets, curtains, and plenty of soft furniture does wonders for absorbing sound.
You do not have to build a fancy studio to get great results. Recording in a closet full of clothes, draping a blanket over your desk, or setting up a DIY booth with moving blankets can dramatically clear up unwanted echoes. While acoustic panels work best, they need a larger budget and a fixed setup.
Everyday noises, like the hum of a refrigerator or the buzz of an air conditioner, can intrude on your recording. Turn off noisy appliances and let others know you are recording. If you still hear background sounds, consider recording during off-peak hours or use noise reduction tools during editing.
Nailing Your Mic Technique
How you use your mic can change everything in your recording. Keep about 4-6 inches between you and the mic, and try speaking across it instead of directly into it. This simple trick helps reduce those harsh popping sounds that can distract your listeners. Make sure you keep your distance steady; too close and your voice can become overwhelming, too far and it might lose its strength.
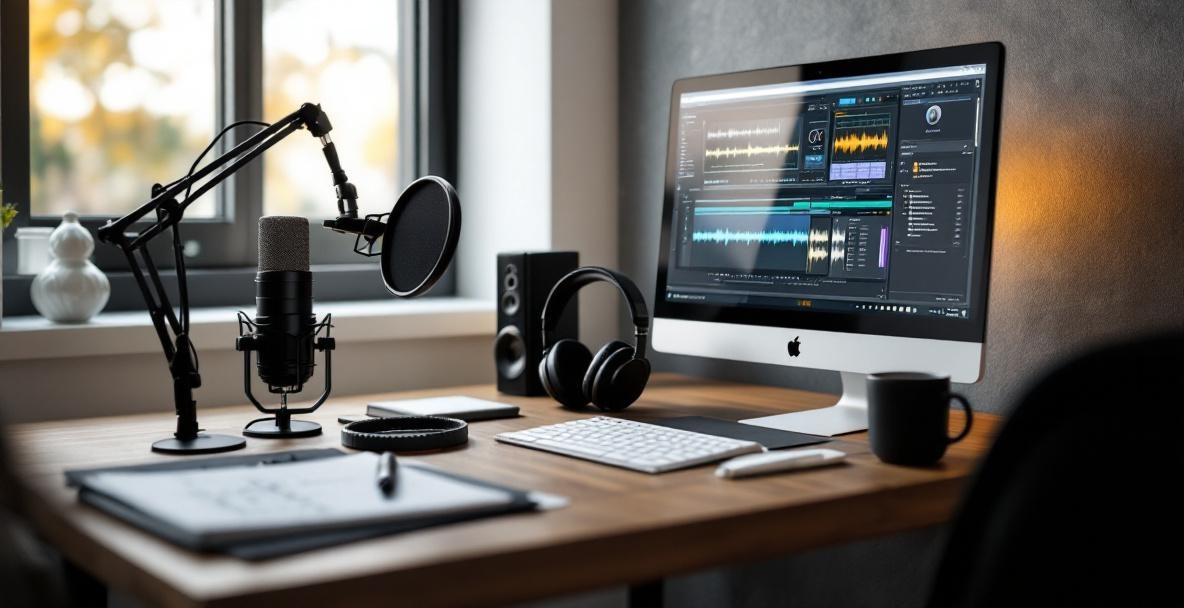
Adding a pop filter or windscreen is a wise move, as it softens hard sounds and cuts down on unwanted breathing noises. Foam covers do the trick for most, but a nylon mesh pop filter might be better if your mic picks up too much detail. Some podcasters even layer both for that extra bit of protection.
Before you hit record, practice speaking into the mic. Slow down a little, enunciate clearly, and keep your energy up. Simple habits like staying hydrated can prevent distracting clicks that might otherwise show up later in editing.
Fine-Tuning Your Podcast Edits

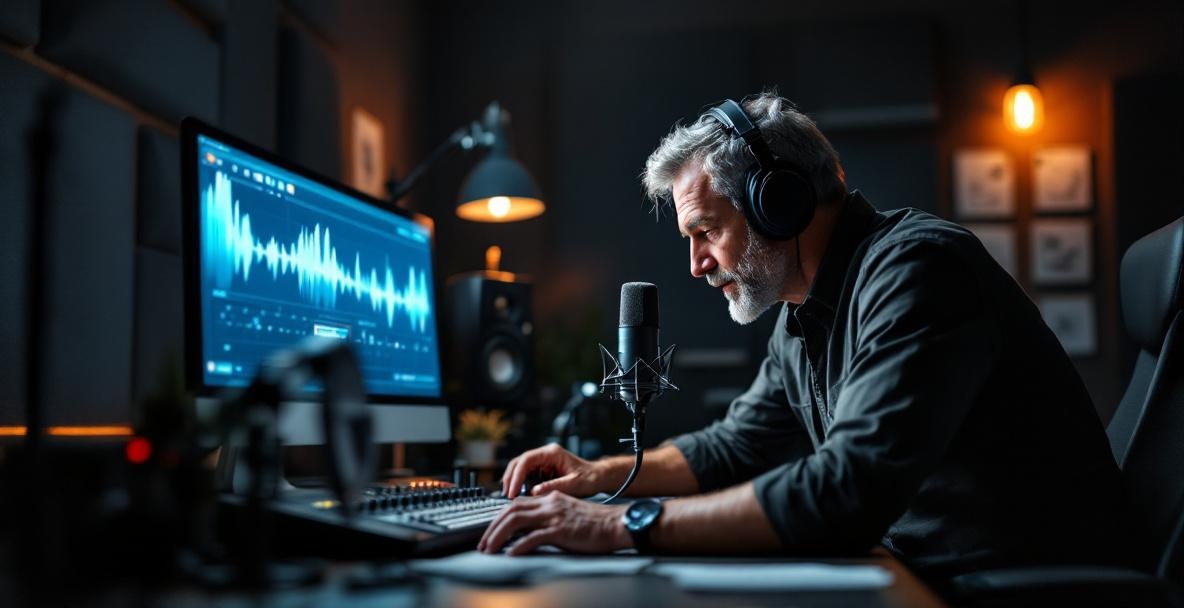
Editing is where your raw recordings turn into a polished podcast. Even the best recordings need a bit of cleanup to shine, though no amount of editing can fix a poor recording from the start.
Easy Editing Tips
Start by setting up a smooth editing routine. Whether you work with Audacity, Adobe Audition, GarageBand, or Reaper, keep your tracks organized and separate speakers from music or sound effects. Using keyboard shortcuts for routine tasks can save you time, and having a clear plan-like cutting out mistakes first-helps the process go smoothly.
A big part of editing is simply removing things you don’t need. Cut out long pauses, filler words like "um" and "uh," and any major slip-ups. Just be careful not to overdo it, as too much cutting can make the conversation sound choppy. The idea is to keep the natural flow of speech while getting rid of distractions.
Enhancing Your Sound with Effects
Equalizers let you fine-tune your podcast’s tone. Most voices work well with a high-pass filter set around 80-100Hz to knock out any low rumbles. You might want to reduce muddiness by lowering some mid-range frequencies and add a little boost between 3-5kHz to make your voice pop. Keep your adjustments subtle so your voice still sounds natural.
Compression helps smooth out differences between loud and soft parts. Start with a gentle ratio and tweak the settings until only the louder bits get compressed. Over-compression can make your voice sound robotic, so always err on the side of a more natural sound.
Noise reduction is useful but should be used sparingly. Most editing programs offer plugins that remove background hum, but too much can create odd artifacts. Sometimes a light noise gate offers the best balance, cutting out intermittent noise without harming the natural sound of your voice.
Testing and Tweaking Your Audio

Before diving into another full episode, take a little time to test your setup. A brief test recording can help you catch issues like interference or stray background noise before they become a problem. Listen to the test on different devices-headphones, speakers, even your car-to be sure your tone holds up everywhere.
Experiment with different mic positions and speaking styles until you find what sounds best in your space. Sometimes speaking off to the side of the mic gives a warmer tone, while other times a direct approach is best. Write down what works so you can recreate that magic every time you record.
Feedback from others is incredibly valuable. Ask trusted friends or fellow podcasters to listen and point out any spots where the sound falters. This outside view can reveal issues you might miss after hearing your own voice day in and day out.
Wrapping It Up: Fine-Tune Your Podcast's Sound
Getting your podcast sound just right is an ongoing journey. Every little detail-from picking the right gear, nailing your recording technique, to fine-tuning your edits-adds up to a better show. The best podcasters are always testing, tweaking, and learning because they know that great audio makes all the difference in keeping listeners engaged.
Next Steps for Your Podcast
Begin by giving your current setup a close look. Record a short test episode and listen carefully to pinpoint any weak spots. Decide what needs fixing first, keeping in mind that sometimes a small tweak in your technique can make a huge difference without costing a thing.
It helps to have a pre-recording checklist that covers your room, gear, and sound levels. Then, set up a routine for editing that handles common issues every time. This way, you can deliver consistent quality episode after episode, building trust with your listeners.
Share Your Journey with Other Podcasters
Sound basics stay the same even though the tools and tricks can change. Reach out to other podcasters, swap stories, and pick up tips to keep improving your sound. The community is a great resource full of ideas that can help you stay on top of your game.
Ready to take your podcast audio quality to the next level? Visit Castee today to discover how our end-to-end podcast marketing solution can help you leverage your improved audio quality for maximum audience growth. We'll help you transform great sound into greater reach through proven digital marketing strategies, enhanced SEO, and cohesive brand building that connects your professional-sounding podcast with eager listeners.
Leave a Reply